Install Ubuntu Server 20.10 on a Raspberry Pi
Holiday time is tinker time. That said, I sat down to get some workloads up and running on my Raspberry Pi. I took some notes, that I want to share with you. This tutorial will guide you through the process of installing and configuring Ubuntu Server 20.10 on a Raspberry Pi.
Requirements🔗
Only a few things are required to setup a fully functional Raspberry Pi with the latest Ubuntu Server release (Ubuntu Server 20.10):
- A Raspberry Pi (3, 4, or 400)
- A computer with a MicroSD card reader
- A MicroSD card (at least 4 GB capacity)
- A power adapter for the Raspberry Pi
- A USB Keyboard
- A HDMI cable
- A screen or a TV with HDMI input
Create a bootable MicroSD card for Raspberry Pi🔗
Several tools can be used to create bootable MicroSD cards for the Raspberry Pi. I use Raspberry Pi Imager, a free GUI tool. Download it from the official website to your computer, install it, and start the executable.
The Raspberry Pi Imager can create a bootable MicroSD card for a wide variety of operating systems - including Ubuntu Server 20.10. Choose Ubuntu Server 20.10 x64 from the list of Ubuntu versions.
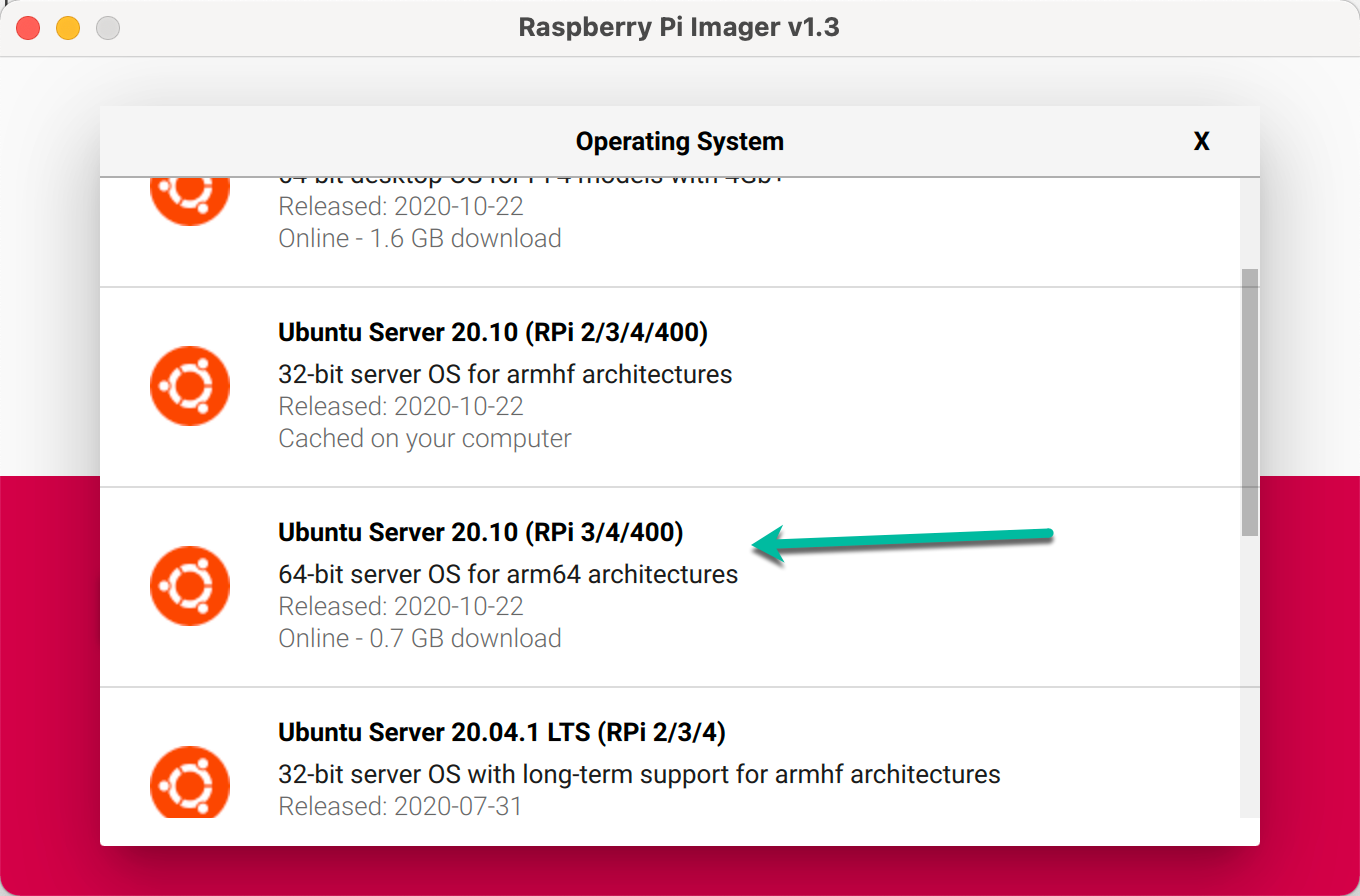
Raspberry Pi Imager - Image selection
Plugin the MicroSD Card and select it, using the corresponding button in the Raspberry Pi Imager. Finally, start the flashing process.
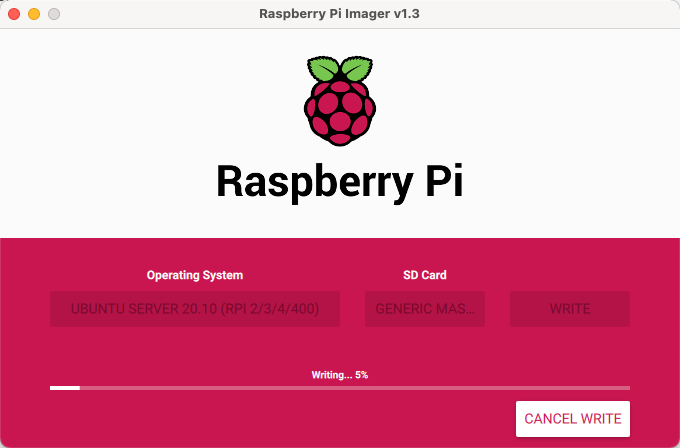
Raspberry Pi Imager - Image flashing
Raspberry Pi Imager automatically downloads the desired image and writes it to the MicroSD card. That said, the overall flashing process could take a while.
Raspberry Pi wireless network configuration🔗
Once the MicroSD card is flashed, find it in your file browser and navigate to system-boot. Locate and edit the network-config file using your favorite editor.
Update the YAML file and provide all necessary information for your wireless network. The final file should look similar to the following snippet:
# This file contains a netplan-compatible configuration which cloud-init
# will apply on first-boot. Please refer to the cloud-init documentation and
# the netplan reference for full details:
#
# https://cloudinit.readthedocs.io/
# https://netplan.io/reference
#
# Some additional examples are commented out below
version: 2
ethernets:
  eth0:
    dhcp4: true
    optional: true
wifis:
  wlan0:
    dhcp4: true
    optional: true
    access-points:
      your_wifi_ssid:
        password: "your_wifi_password"
Save the network-config file and remove the MicroSD card from your computer.
First boot🔗
Put the MicroSD card in your Raspberry Pi, connect the USB keyboard, and connect the Pi to an external screen (a TV will also work) using the HDMI cable. Once you have connected all accessories, power up the Raspberry Pi.
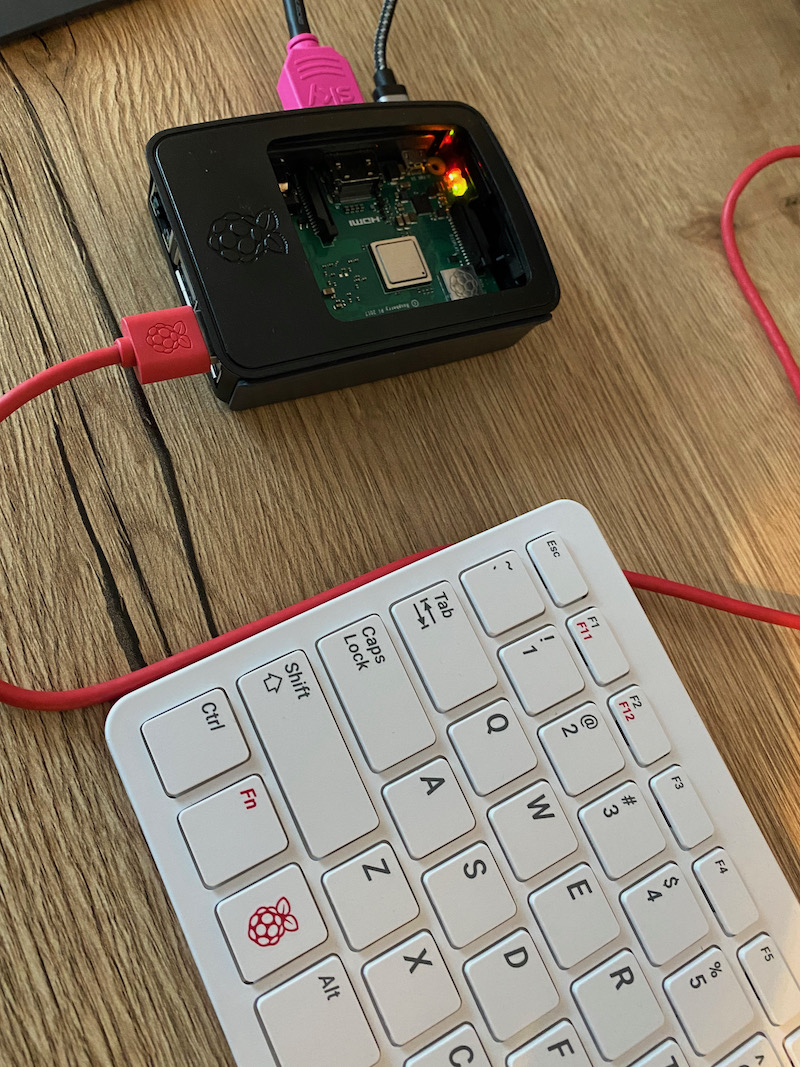
Raspberry Pi - Power it up
Modify default credentials🔗
Once the Raspberry Pi has booted to the terminal, log in using the default credentials (username: ubuntu, password: ubuntu). After the first login, you have to set a new password.
Verify wireless network connection🔗
Verify the wireless network connection (check if your Raspberry Pi received a local IP address using ip a). If the wireless connection doesn’t work, consider updating the wireless network connection settings in /etc/netplan/50-cloud-init.yaml. Modifying the file requires administrative privileges. That said, open the file using the following command:
# open network configuration file
sudo vi /etc/netplan/50-cloud-init.yaml
Modify the wireless network configuration and apply the changes using sudo netplan --debug apply. By adding the --debug flag, you will receive detailed information in the case of an error.
Modify your Raspberry Pi’s hostname🔗
Depending on your workloads, you may want to provide a custom hostname for your new Raspberry Pi. To modify the hostname, open the /etc/hostname file - with administrative privileges - in an editor.
# open /etc/hostname with administrative privileges
sudo vi /etc/hostname
The /etc/hostname file just contains the actual hostname of the system. Provide a valid hostname, save the file and close the editor (for vi it is [Esc]:wq followed by the return key).
Install essential updates🔗
Although Ubuntu Server 20.10 has been released recently, you should immediately install available updates on your new Raspberry Pi.
# update packages list
sudo apt get update

# install available updates
sudo apt install
Reboot the Raspberry Pi🔗
The hostname is configured, your password is set, and the most recent updates are installed. It’s time for a final reboot to apply the hostname modification:
# reboot the raspberry pi
sudo reboot
Once the Pi is up and running again, you are good to go.