Run containers in Azure Container Instances straight from Docker CLI
A couple of months ago, both Microsoft and Docker announced the seamless integration of Azure Container Instances (ACI) and Docker CLI. As a container enthusiast, I had to look into this integration. I tested it in different scenarios to see how it could support me and increase my productivity.
tl;dr: The integration of ACI and Docker CLI is excellent. Once configured, I found myself spinning up numerous containers :). It provisions even multi-container applications based on Docker Compose. There is a downside. Pulling images from registries was slower compared to my local machine. Overall, I like the experience and share everything you need to know about it in this article.
Configure Azure Container Instances integration🔗
# Start the interactive login flow
docker login azure
Alternatively, you can log in using a Service Principal (SP). Provide the id and password of the SP using --client-id and --client-secret arguments when calling docker login azure
Once logged in, create a new context. The context is responsible for routing requests issued by Docker CLI to nodes or clusters. This context stores configuration data and sensitive information to establish a secure connection to the target (Azure Container Instances for this article’s scope).
docker context create is an interactive command. It guides you through the process of configuring a new Docker context.
As part of that wizard, the Docker CLI creates a new Azure Resource Group in eastus, and sets a new uuid as the name. You can provide a custom location for the Azure Resource Group using the --location argument. You can’t customize the name of the Azure Resource Group. However, you can use the --resource-group argument and link the context to an existing one.
# create a Docker context to offload container execution to ACI
docker context create aci lets-try-aci

# optionally specify a custom location and link to an existing resource group

az group create -n rg-lets-try-aci -l westeurope

docker context create aci lets-try-aci \
  --resource-group rg-lets-try-aci \
  --location westeurope
You can query for all configured contexts using docker context ls. To switch or use a given context, use the docker context use command and pass the name of the desired context:
# switch to the lets-try-aci context
docker context use lets-try-aci
Consult the official Docker documentation to learn more about contexts in Docker.
Run single container applications in ACI🔗
You can run any container in ACI at this point. For example, let’s fire up a tiny web application that returns some contextual information about the execution-host.
docker run -d -p 80:80 nginxdemos/hello
# [+] Running 2/2
# ⠿ Group busy-zhukovsky    Created    3.4s
# ⠿ busy-zhukovsky          Done      25.7s
# busy-zhukovsky
It took roughly 30s to spin-up this container. However, remember what happens behind the scenes. Docker establishes a secure connection as specified as part of the Docker context. It instructs Azure’s ARM API to create a Container Group. It pulls the desired container image, allocates a public IP address. Finally, it launches the container with specified port forwarding.
Verify that the container is running (docker ls) and browse the application using the public ip address.

Sample container runs in ACI
You can delete the container again using docker rm followed by the id of the container.
Port Mapping is not supported🔗
We published port 80 of the Docker container to port 80 of the public ip address (acquired by Azure itself). Publishing a container works like a charm. However, port mapping (changing the port number while exposing) is not supported.
Volumes🔗
Real applications have to persist state. You want to store the state always outside of the container-filesystem. When working with ACI, you can use Azure Files (part of Azure Storage Accounts) as volumes.
You can create a new Azure File Share combined with the required Azure Storage Account using docker volume create.
# create a new Azure File Share (aci-test-volume)
# and the necessary Azure Storage Account (acidockerstorage)
docker volume create aci-test-volume --storage-account acidockerstorage
Having the volume in place, we can run stateful applications in ACI as shown in the next section.
Run multi-container applications in ACI with Docker Compose🔗
Many teams use Docker Compose for the inner-loop. You can spin-up multi-container apps with inter-container communication quickly using Docker Compose.
You run multi-container apps with Docker Compose also in ACI. Docker Compose reuses the Docker context. That said, everything you need is a docker-compose.yml that describes a multi-container application. As an example, we will run WordPress in ACI. This configuration of WordPress uses MySQL to persist state. Use the volume we created in the previous section to offload the state to the Azure File Share.
version: '3.3'

services:
   db:
     image: mysql:5.7
     volumes:
       - data:/var/lib/mysql
     restart: always
     environment:
       MYSQL_ROOT_PASSWORD: somewordpress
       MYSQL_DATABASE: wordpress
       MYSQL_USER: wordpress
       MYSQL_PASSWORD: wordpress

   wordpress:
     depends_on:
       - db
     image: wordpress:latest
     ports:
       - "80:80"
     restart: always
     environment:
       WORDPRESS_DB_HOST: db:3306
       WORDPRESS_DB_USER: wordpress
       WORDPRESS_DB_PASSWORD: wordpress
       WORDPRESS_DB_NAME: wordpress
volumes:
  data:
    driver: azure_file
    driver_opts:
      share_name: aci-test-volume
      storage_account_name: acidockerstorage
Execute docker compose up (notice the new docker CLI sub-command to start a compose file -> no dash between docker and compose).
Now is a excellent time to grab a coffee or tea. Starting both containers took about 2 minutes for me …
… you are back with some hot coffee or tea? Awesome! Check if the containers are running (docker ps). Access the public IP with your browser and verify that your WordPress instance is waiting for you.
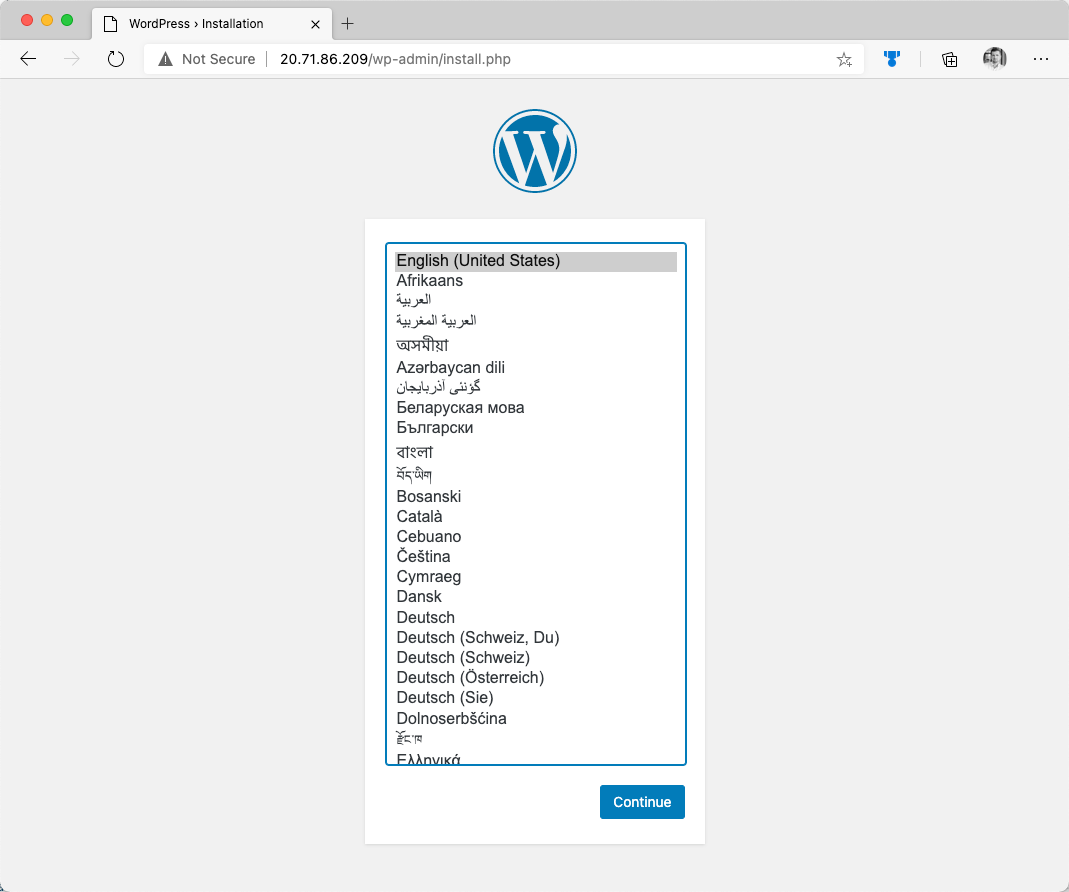
WordPress with MySQL in ACI
If you are done with blogging, you can delete both containers with docker compose down and the underlying volume with docker volume rm acidockerstorage/aci-test-volume.
Custom DNS name🔗
When running multi-container applications in ACI, you can request a custom DNS name. To be more precise, you instruct Azure to link a subdomain of azurecontainer.io to the public IP address of the exposed container. The FQDN always follows the schema yourdomain.region.azurecontainer.io.
Adding the domainname property to the wordpress container in the docker-compose.yml and assigning letstryaci as value results in letstryaci.westeurope.azurecontainer.io.
Note: You can only assign one domain per docker-compose.yml.
Track costs🔗
ACI is cheap when executing short-lived containers. That’s what it is designed for. However, running containers 24/7 on ACI is - compared to other hosting capabilities in Azure - a bit too expensive. Don’t forget to track the forecast for your monthly Azure costs.
Cleanup🔗
Don’t forget to switch back to the default Docker context; otherwise, all operations (like docker ps or docker run) will route requests to ACI. If you want to remove the Docker context created during this article, use the docker context rm lets-try-aci command after switching back to the default context:
# switch to the default context
docker context use default

# delete the lets-try-aci context
docker context rm lets-try-aci
Double-check your Azure subscription after removing an ACI context. Docker CLI will not delete running container instances. At least that was my experience.
Conclusion🔗
I use ACI regularly and like the experience. It’s great to have a lightweight (read: serverless) approach besides Azure Kubernetes Service. However, keep in mind that pulling the container image to ACI can take some time. That said, it is great for jobs and tasks when the bootstrap duration is not critical.
Seamless integration with Docker CLI is a huge benefit and will drive the adoption of ACI.